How to Print an Image Across Multiple Pages on Mac
Print one image, photo, or picture across multiple pages using US Letter (8.5 × 11 in), A4, or another paper size supported by your regular printer.
Starting with a file in Preview? Read how Preview printing differs from poster tiling, then open the same file in PrintTiler to create the multi-sheet layout.
U.S. quick start
Print Across US Letter Pages (8.5 × 11 in)
For a typical U.S. home or office printer, select Letter in PrintTiler and in the macOS print dialog. The paper name, orientation, and page count must agree so the preview matches the physical sheets.
- Printer
- Select the device you will use and check its current status
- Paper
- Letter · 8.5 × 11 in · 215.9 × 279.4 mm
- Layout
- Custom Fit → Pages for a specific sheet grid
- Margin
- Auto, using the printable area reported by the printer
- Overlap
- 0.197 in (5 mm) default for multi-page assembly
- Print dialog
- Letter, matching orientation, all pages, double-sided off
- Final check
- Review Pages and Output before committing paper and ink

Direct answer
How do you print an image across multiple pages on a Mac?
Open PrintTiler, load the image, photo, picture, or PDF, choose the paper and orientation, set the page grid, protect the edges with Margin, inspect the assembled and individual-page previews, then print all generated pages through the macOS print dialog.
Best for
- Posters, maps, wall art, blueprints, signs, and classroom materials
- Home and office printers using US Letter, A4, A3, or another supported paper size
Not for
- Single-sheet commercial large-format output
- Editing the artwork or document before it is tiled
Works on
- macOS 11.5 or later
- Images and PDFs prepared locally on your Mac
Why PrintTiler instead
- Preview the assembled image and every generated page before printing
- Use printer-aware margins, page overlap, physical output size, and estimated DPI in one workflow
How to Print at Poster Size on Mac Without Adobe
You do not need Adobe to split an image or PDF across multiple sheets on a Mac. Open the file directly in PrintTiler, select the printer and A4 or Letter paper, then choose Custom Fit → Pages for a specific sheet grid or Custom Fit → Print Size for exact finished dimensions.
Keep the aspect ratio locked, inspect both previews, and print through the macOS print dialog without adding a second scaling step. For measured output, follow the exact-size printing checks before committing the complete poster.
Poster Printing at Home on Mac
Yes — a regular home printer can print a poster on a Mac. PrintTiler splits one image or PDF across standard sheets, so you choose A4 or Letter to match the paper in the tray and set either a page grid or an exact finished size.
- Layout: use Custom Fit → Pages for a specific sheet grid or Custom Fit → Print Size for exact final dimensions such as 24 × 36 inches.
- Edges: keep Auto Margin on so content stays inside the printable area the printer reports.
- Seams: start with the 5 mm overlap default so neighboring sheets repeat a narrow strip for trimming and alignment.
- Preview: check the Assembled view for composition and the Pages view for blank edges, page order, and seams.
- Print: in the macOS print dialog, print All Pages on the same A4 or Letter paper and orientation, with double-sided printing off.
- Test first: print two neighboring sheets and confirm the seam lines up before printing the rest of the poster.
That covers the at-home path from one file to a finished poster. The six-step workflow below shows the same controls in order, and the tiled-print assembly guide covers trimming and joining.
How Tile Printing Works
Tile printing divides one oversized image or PDF into a grid of standard-size sheets. Each sheet contains a different part of the source, and the printed sheets are assembled into the larger result.
The page count is determined by the target physical size, paper orientation, printer-safe margins, and any overlap added between sheets. An A2-size result on A4 paper is nominally a 2 by 2 grid, for example, but the actual printable area can require a different layout. Use the app's reported Print Size rather than relying only on paper-name arithmetic.
US Letter Page Grids for Large Posters
A single-sheet 8.5 × 11 inch poster fits on one US Letter page. To print a larger poster on 8.5 × 11 inch paper, choose a multi-page grid in PrintTiler. With Portrait sheets, multiplying the Letter dimensions by the page grid gives the nominal sheet footprint before printer margins, trimming, or overlap. PrintTiler reports the actual assembled and image sizes after those settings are applied.
| Grid | Sheets | Nominal sheet footprint |
|---|---|---|
| 2 × 2 | 4 | 17 × 22 in |
| 3 × 2 | 6 | 25.5 × 22 in |
| 4 × 2 | 8 | 34 × 22 in |
| 3 × 3 | 9 | 25.5 × 33 in |
Do not treat these nominal dimensions as the final artwork size. Most printers cannot use the entire 8.5 × 11 inch sheet, and overlap intentionally repeats content between neighboring pages. Check Image Size and Assembled Size in Output for the dimensions produced by the selected printer and settings.
Print Your Own Poster from an Image, Photo, or Picture
To make a poster from an image, open the finished image, photo, picture, poster design, or piece of artwork in PrintTiler. The app opens PNG, JPEG, and TIFF images directly; a document or design exported as PDF can use the same tiled-page workflow.
Choose the page grid for the physical size you need, then check the reported resolution before printing. A photo can look sharp at a modest enlargement, while a small web image may become soft when spread across many sheets.
Example: Print a 24 × 36 Inch Poster from a Photo
A portrait photo that is 4000 × 6000 pixels has the same 2:3 proportions as a 24 × 36 inch poster. At that size it provides about 167 pixels per inch: 4000 ÷ 24 and 6000 ÷ 36 both give 166.7. That can work for a poster viewed from a distance; inspect fine detail if it will be viewed up close.
- Open the original photo rather than a small preview or screenshot.
- Select the printer and the Letter or A4 paper actually loaded.
- Choose Custom Fit → Print Size, use inches, and enter a width of 24 in. Keep the aspect ratio locked; this 2:3 photo should have a height of 36 in.
- Start with Auto Margin and 5 mm overlap, then check the calculated grid. Let the printer's printable area determine the number of sheets.
- Confirm the image's physical size and estimated resolution in Output. Inspect both Assembled and Pages previews, especially faces or small text near seams.
- Print a detailed area and one neighboring seam at 100% before printing every tile.
If the result needs more detail: a 24 × 36 inch image at 300 pixels per inch needs 7200 × 10800 pixels. Changing a 4000 × 6000 image's DPI metadata does not create that detail. Use a larger original or choose a smaller finished print.
This is a worked sizing example. Actual page count depends on paper orientation, margins and overlap; a fixed sheet grid does not guarantee a 24 × 36 inch image.
For a different target size, follow the exact-size image workflow. For source quality, use the poster resolution guide.
Print a Wide Banner or Classroom Display Across Pages
Start with one finished banner, sign, timeline or classroom diagram. In Custom Fit → Print Size, set the desired final width and keep the aspect ratio locked. Let the height follow the source proportions so letters and diagrams stay undistorted.
Compare Portrait and Landscape paper in the preview. Check where joins cross letters or fine labels, then adjust the source layout or finished size if a seam makes an important detail hard to read. Test one text area and one seam before printing the complete strip.
Print an Oversized Christmas Poster or Window Display
Start with a finished Christmas image or PDF that you created or have permission to print. PrintTiler splits existing artwork across pages; it does not provide Christmas templates or downloadable designs.
- Open the original PNG, JPEG, TIFF, or PDF instead of a small screenshot or preview image.
- In Custom Fit → Print Size, enter the finished width or height and keep the aspect ratio locked.
- Compare Portrait and Landscape paper, then check whether page seams cross a face, greeting, or other important detail.
- Start with Auto Margin and 5 mm overlap. Keep crop marks on when the sheets will be trimmed and joined.
- Inspect the Assembled and Pages previews, then test two neighboring sheets before printing the complete decoration.
A poster can be mounted on a wall after assembly. For a window display, assemble the sheets first and choose tape or another mounting method suitable for the window surface.
Prepare a Christmas poster with PrintTiler
Mistakes to Avoid Before Printing
Assuming the paper is printable edge to edge
Most printers have a non-printable area. Setting Margin to Off can place important content where the printer cannot reach. Use Auto Margin first, especially when the outer edge of an earlier job was clipped.
Scaling the job twice
Let PrintTiler determine the tiled size, then keep the macOS print job on the matching paper and orientation. A second “fit to page” operation in the print dialog can change scale and alignment.
Checking only the assembled image
The assembled preview confirms composition; the Pages preview exposes blank edges, page order, and what each physical sheet will contain. Check both before committing paper and ink.
Print a Large Image in Six Steps
Choose an Image or PDF
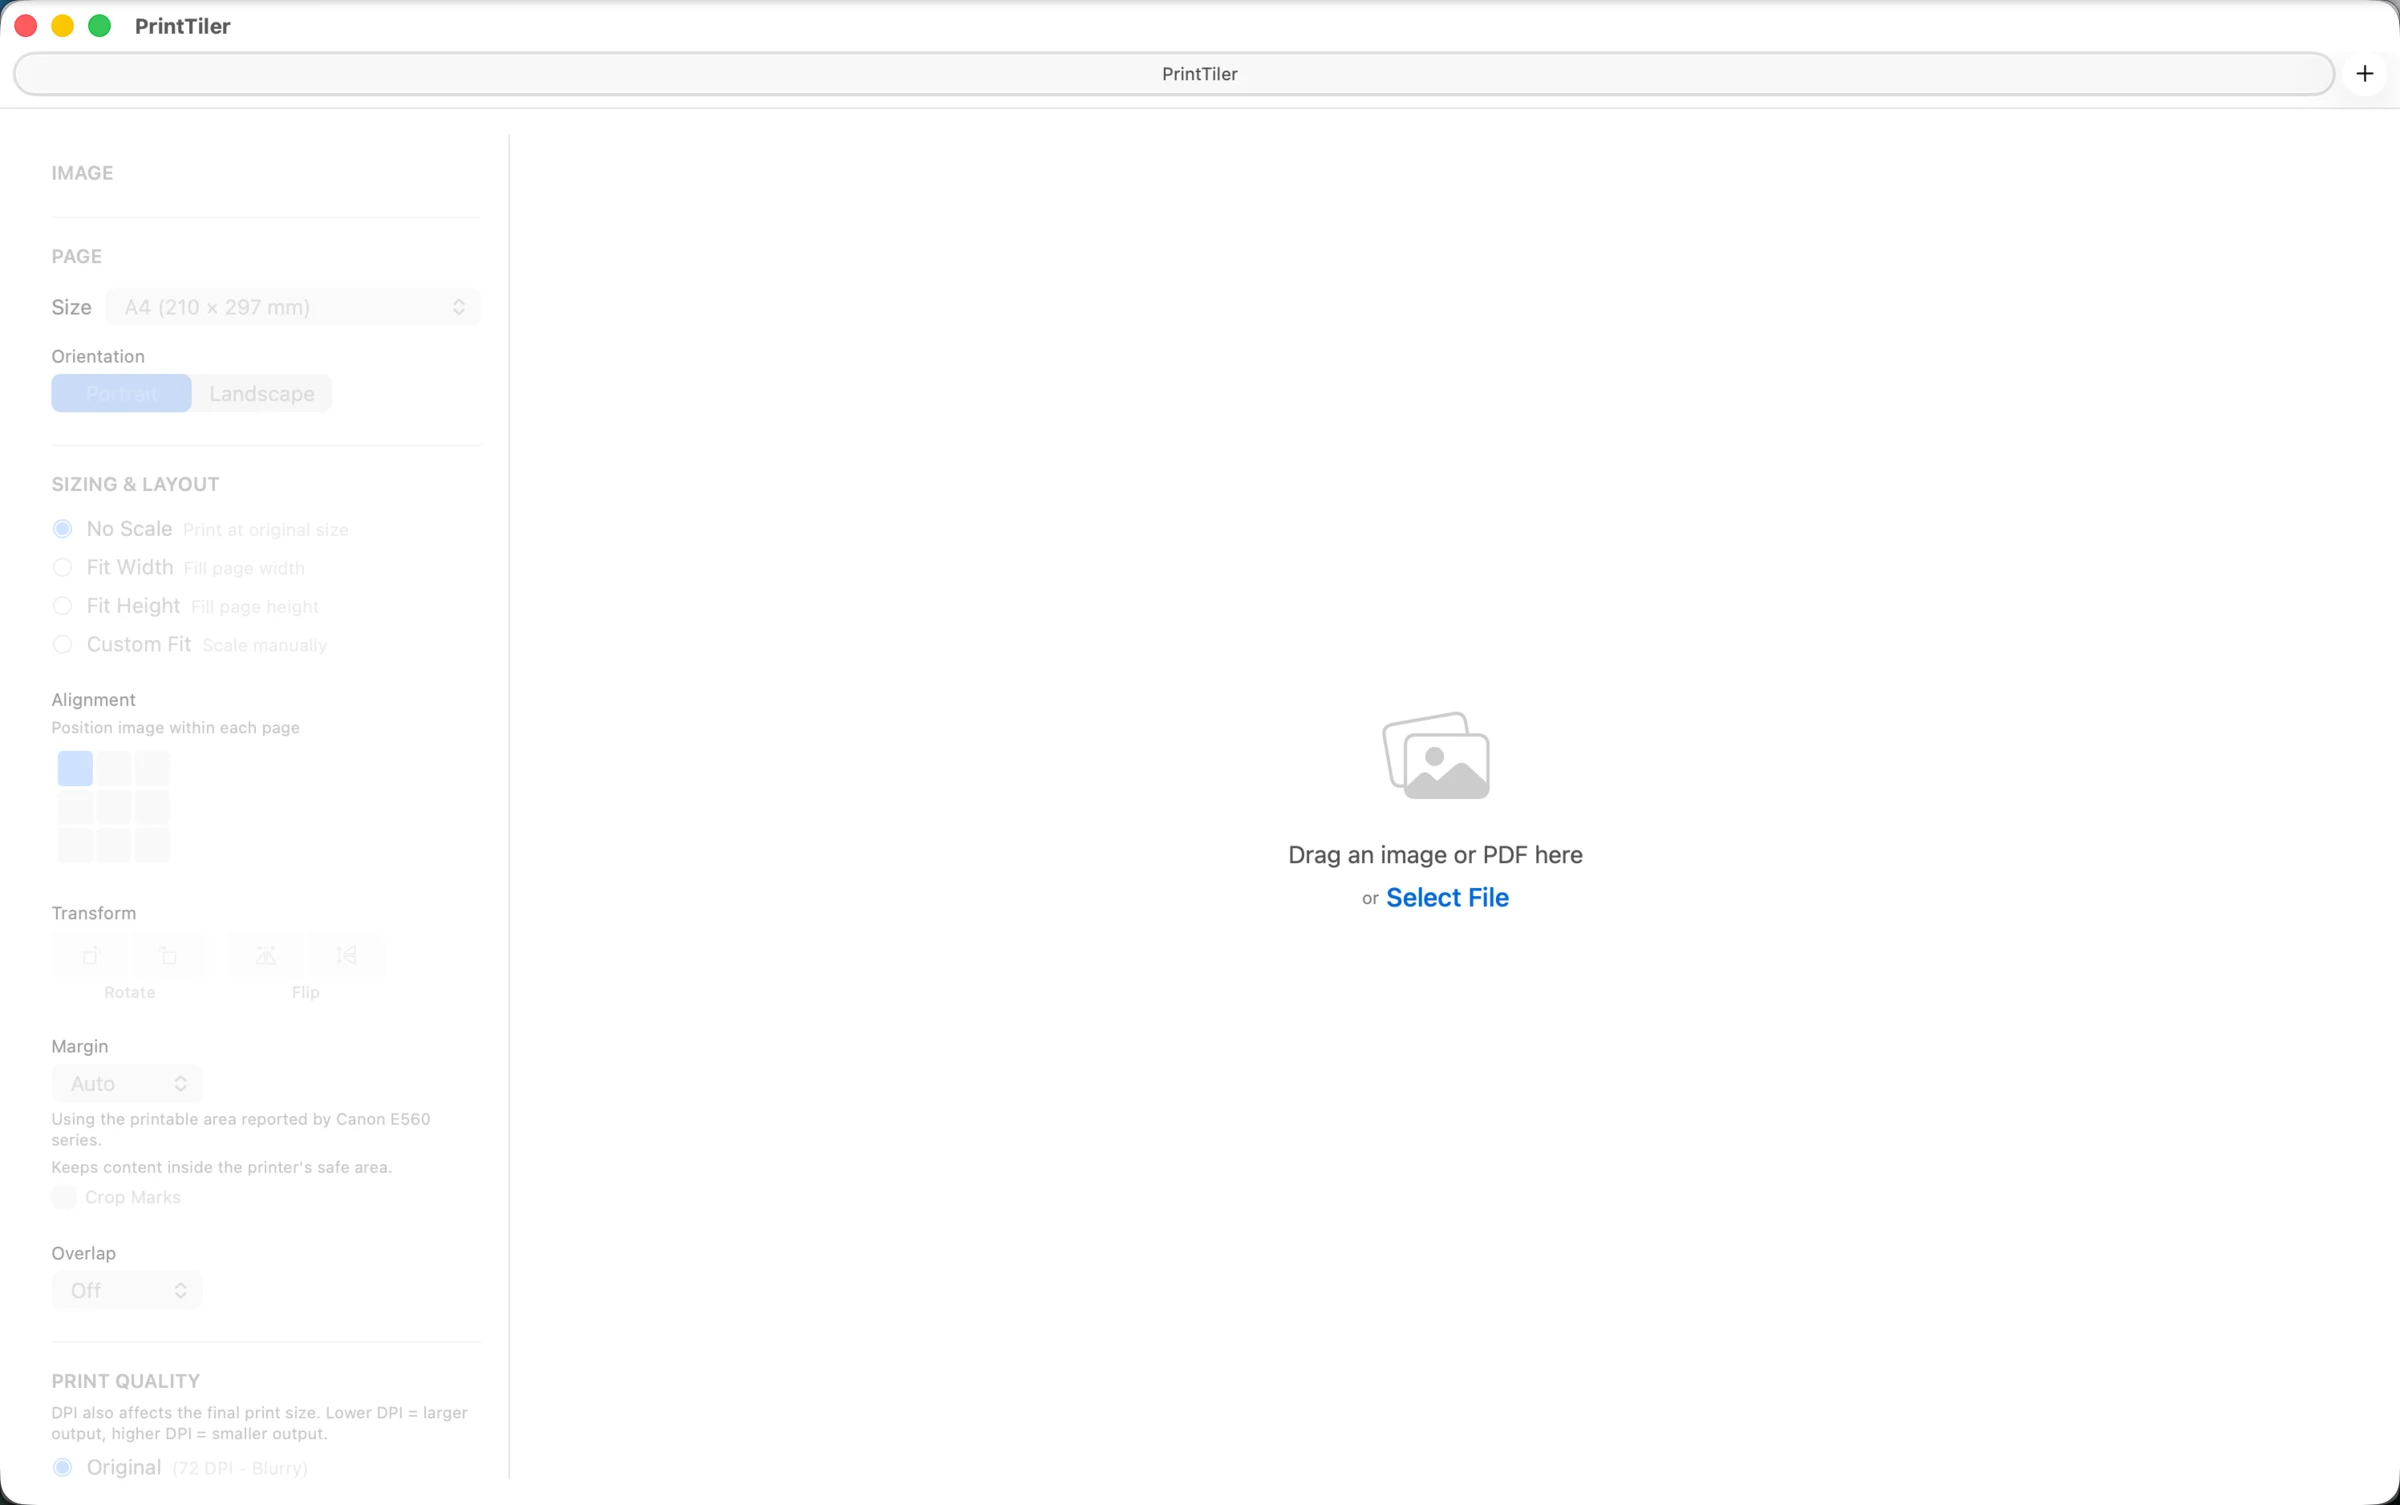
Open PrintTiler, then drag an image or PDF into the window or click Select File. The source file is processed locally and never needs to be uploaded to a poster-splitting website.
Select the Printer, Paper, and Orientation
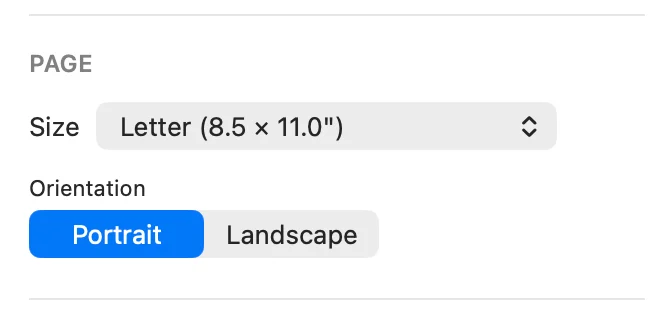
Select the target printer and check the status shown below its name. Choose No Printer when preparing a layout without a device. Selecting the destination printer lets Auto Margin use its safe area and adds its supported paper formats to the menu. Unsupported presets and Custom remain available under More.
Select the paper that will actually be loaded. For a typical U.S. printer, choose Letter (8.5 × 11 in), then select Portrait or Landscape. Custom paper remains available even when a printer reports a limited preset list.
For exact A4 measurements, see the A4 dimensions and DPI reference.
Set the Tiled Layout
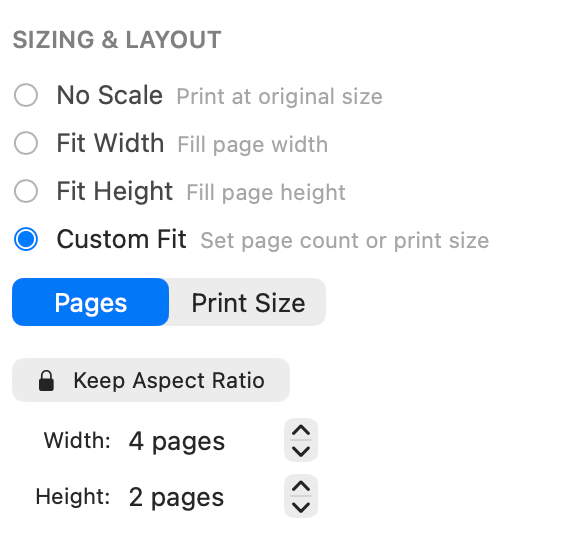
Choose the fit mode that describes the result you need:
- No Scale preserves the physical size derived from the source and its DPI.
- Fit Width or Fit Height locks one dimension to the selected paper.
- Custom Fit → Pages sets the page grid directly, such as 4 pages wide by 2 pages high.
- Custom Fit → Print Size sets exact final physical dimensions, such as 600 × 900 mm or 24 × 36 inches.
Keep the aspect ratio locked unless stretching is intentional. Alignment controls determine how the source sits within the selected grid.

Set Margin and Overlap
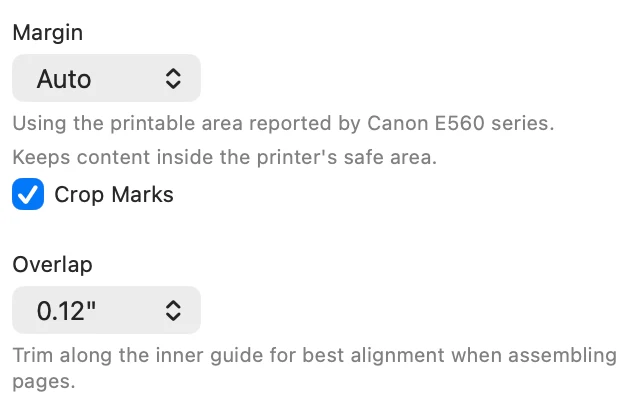
Margin protects content from the printer's non-printable edges. Auto uses the printable area reported for the selected printer and paper. If that information is unavailable, start with a conservative manual value such as 5 mm and test an outer page.
Overlap repeats a narrow strip of content on neighboring pages. The default is 5 mm (0.197 in), a practical starting point for hand assembly. Use 3 mm only when a successful test shows that a narrower seam is sufficient.
If you turn Overlap off on a multi-page layout, Use Recommended can restore a printer-safe margin, 5 mm overlap, and crop marks together. It is a starting configuration, not a substitute for testing two neighboring sheets.
Read the focused margin and overlap guide or diagnose why a printer cuts off outer edges.
Check the Complete Image and Every Page
Use Assembled to confirm the complete composition and page boundaries. Pan with mouse dragging, zoom around the pointer with the mouse wheel or trackpad, and double-click to recenter.
Switch to Pages and inspect the individual sheets in print order.

Finally, confirm the page count, physical Print Size, Resolution, Overlap, and Margin in Output. Expand Paper to inspect paper size, printable area, margins, overlap, and effective tile step. A larger grid increases physical size but lowers effective DPI when source pixels do not change.
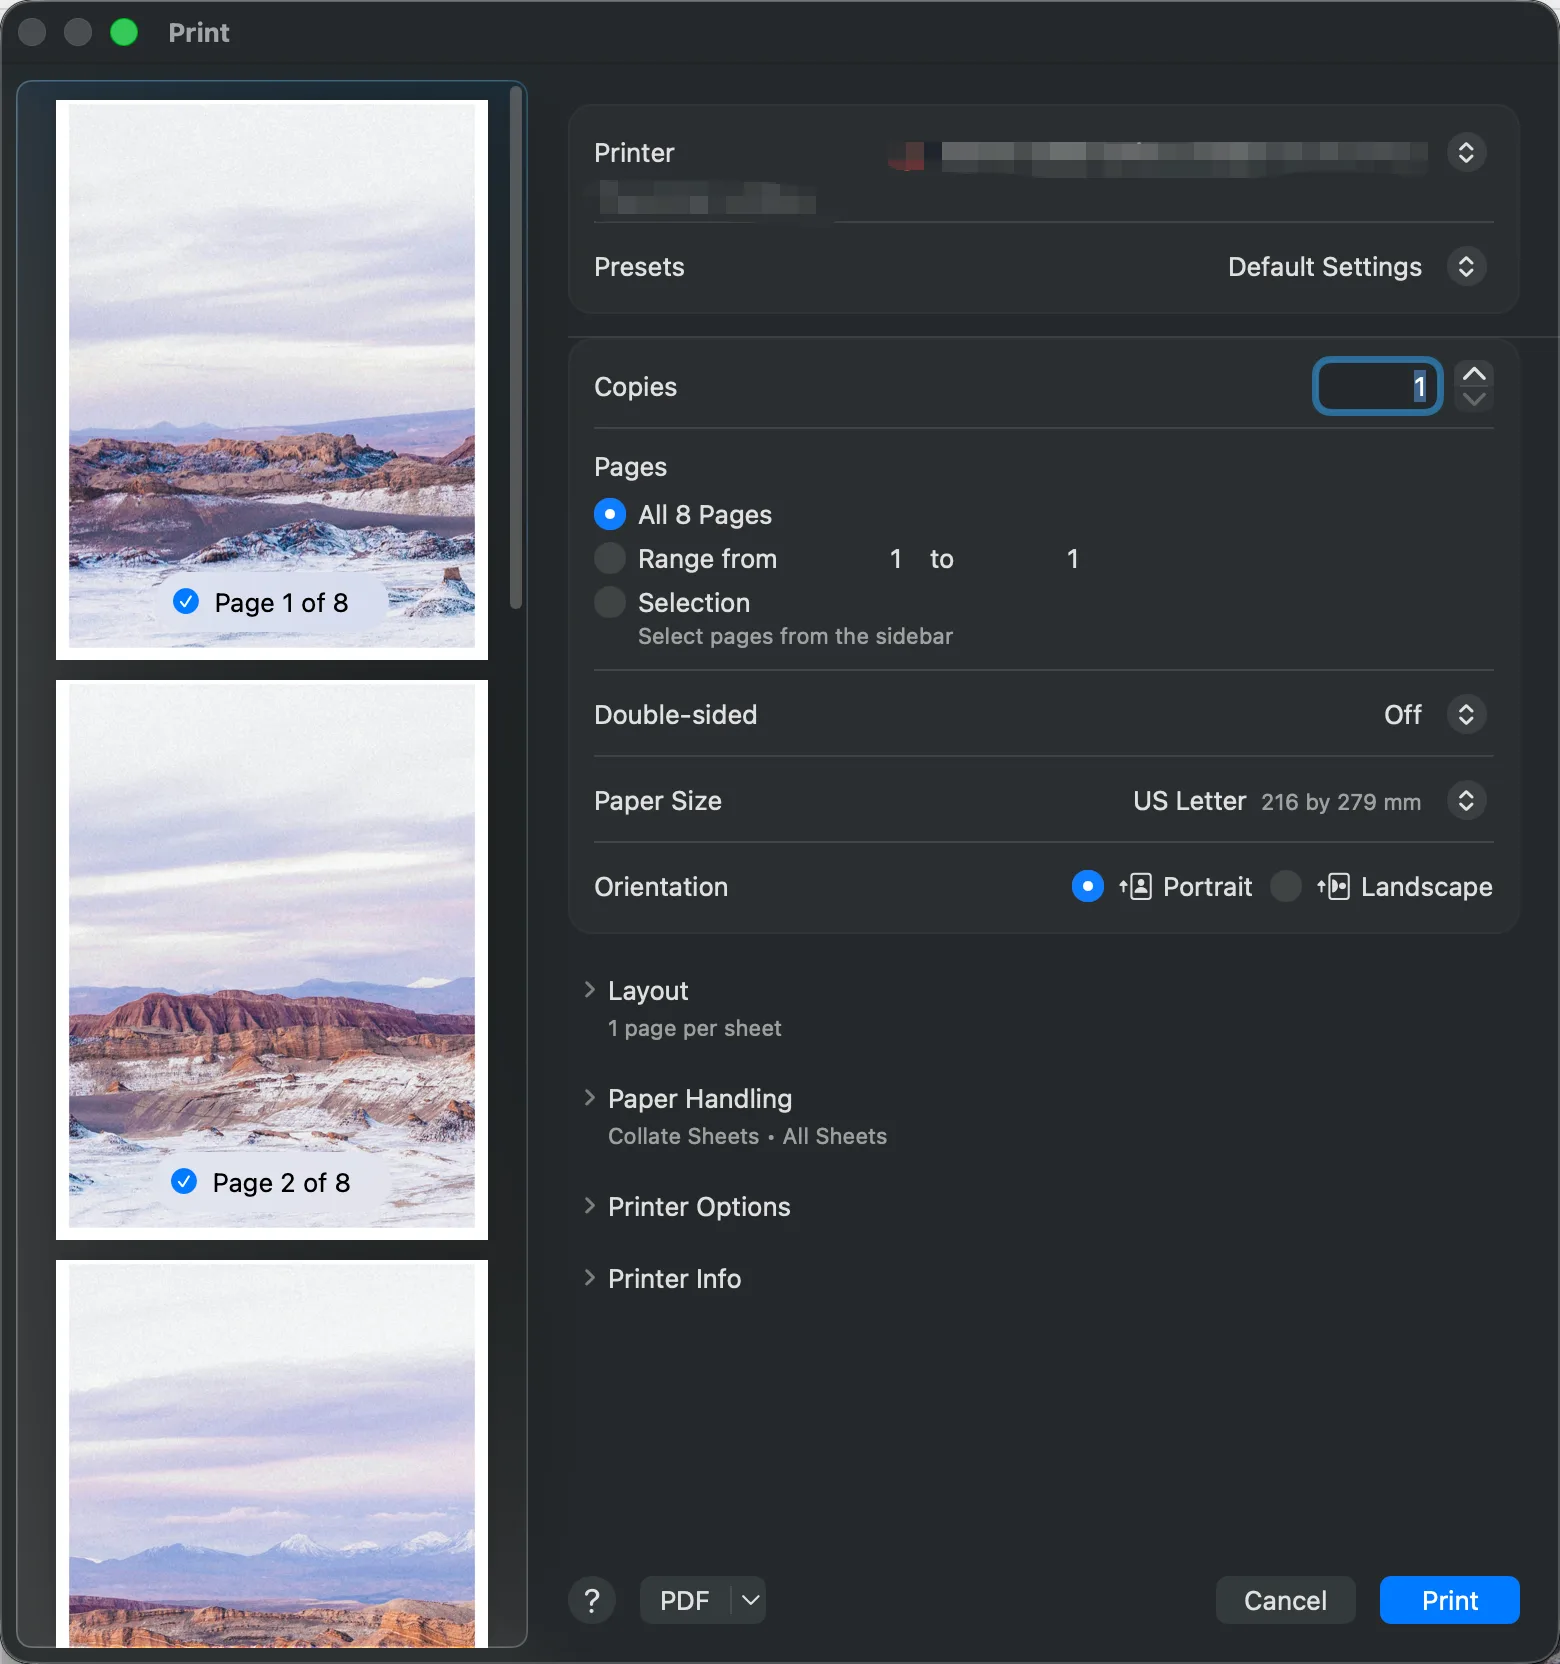
Confirm the macOS Print Settings
Click Slice and Print. In the macOS print dialog:
- Print All Pages.
- Keep Double-sided off so every tile is on a separate sheet.
- Match the paper size and orientation selected in PrintTiler.
- Avoid adding another scaling operation in the print dialog.
If this is the first job with a printer or paper combination, print one outer page first and confirm that no edge is clipped.
Split an Image into A4 or Letter Pages and Save as PDF
To print later, keep the same paper size, page grid, margins, overlap, and crop marks, then choose Export → PDF Document. Set a name and folder to save the whole poster as one multi-page PDF without opening the system print dialog. For separate files, select PNG, JPEG, or TIFF instead; each sheet becomes a numbered image with adjustable export DPI.
Print the saved PDF at 100% or Actual Size on matching paper, single-sided, without applying poster tiling a second time. Check a test sheet before printing the full set. See how to export a tiled PDF or page images for format choices, resolution settings, and vector PDF preservation.
After Printing: Assemble the Sheets
Lay the pages out in order before trimming. When overlap is enabled, trim one side of each seam and align the repeated image details before taping from the back. The separate tiled-print assembly guide covers trimming, adhesive choices, and mounting in detail.
Accuracy and Quality Tips
- Use the Output size for measurement: it reflects the actual grid, paper, margins, and overlap.
- Do not use DPI to target a page count: layout controls physical size; estimated DPI reports likely clarity. See the poster DPI guide.
- Use No Scale for exact-size PDFs: patterns, plans, and other dimensioned PDFs should retain their embedded page size unless enlargement is intentional.
- Test the difficult edge: one outer tile can reveal a printer-margin mismatch before the complete job is printed.
Frequently Asked Questions
Can I split an image into A4 or Letter pages and save it as a PDF?
Yes. Set the paper size and tiled layout in PrintTiler, then choose Export and PDF Document. You get one multi-page PDF for printing later at 100% or Actual Size. Export also offers numbered PNG, JPEG, or TIFF page images with your margins, overlap, and crop marks.
How do I print an image across multiple pages on a Mac?
Load the image or PDF in PrintTiler, select the target printer and paper, choose a fit mode or page grid, keep Auto Margin and the 5 mm overlap default for an assembled poster, inspect both previews, then print all generated pages through the macOS print dialog.
Can I print a poster at home on a Mac with a regular printer?
Yes. Open one image or PDF in PrintTiler, choose the A4 or Letter paper loaded in your home printer, set a page grid or exact print size, keep Auto Margin and the 5 mm overlap default, check the assembled and page previews, then print all pages single-sided. Print two neighboring sheets first to confirm the seam before printing the complete poster.
Can I print a photo or picture across multiple pages?
Yes. Open the photo or picture in PrintTiler, choose how many pages wide or high it should be, and print the generated tiles. PrintTiler supports PNG, JPEG, and TIFF images as well as PDF files.
How do I print an image across multiple US Letter pages on a Mac?
Select the target printer, choose Letter (8.5 by 11 inches), set Portrait or Landscape and the page grid, use Auto Margin and 5 mm overlap for assembly, then confirm Letter again in the macOS print dialog before printing all pages.
Should I choose A4 or Letter for a home printer in the United States?
Choose Letter when 8.5 by 11 inch paper is loaded. A4 and Letter have different dimensions, so selecting A4 for Letter paper can change the page grid, margins, and final assembled size.
Why are the outer edges missing from my tiled poster?
Most printers cannot print to every paper edge. Use Auto Margin so the tiled content stays inside the printable area reported by the selected printer, or set a conservative manual margin when printer data is unavailable.
Should I use margin or overlap for a multi-page poster?
Margin protects content from the printer non-printable area. Overlap duplicates a narrow strip on adjacent pages so seams are easier to trim and align. They solve different problems and can be used together.
What DPI is enough for a large poster?
The useful DPI depends on viewing distance and source-image resolution. Around 150 DPI is often suitable for a poster viewed from a short distance, while detailed close-viewed output benefits from a higher value.
Can I print an oversized Christmas poster or window display on a home printer?
Yes. Start with a Christmas image or PDF that you created or have permission to print, set its finished size in PrintTiler, and split it across A4 or Letter sheets. PrintTiler prepares the tiled layout but does not include Christmas artwork or templates.
Do I need Adobe to print a poster across multiple pages on Mac?
No. PrintTiler opens images and PDFs directly, lets you set a page grid or exact finished dimensions, and prepares the tiled pages for printing or export without Adobe or a file upload.
Can Preview tile one image or PDF page across multiple sheets on Mac?
Preview can scale a file, print selected pages, place multiple existing pages on one sheet, or repeat one image on a sheet. For poster tiling in the opposite direction, open the image or PDF page in PrintTiler and split it across the required A4 or Letter sheets.
Next Step
For image-based posters, continue with the fit-mode and scaling guide. For patterns, plans, maps, and technical documents, use the large PDF printing workflow so physical dimensions remain explicit.